
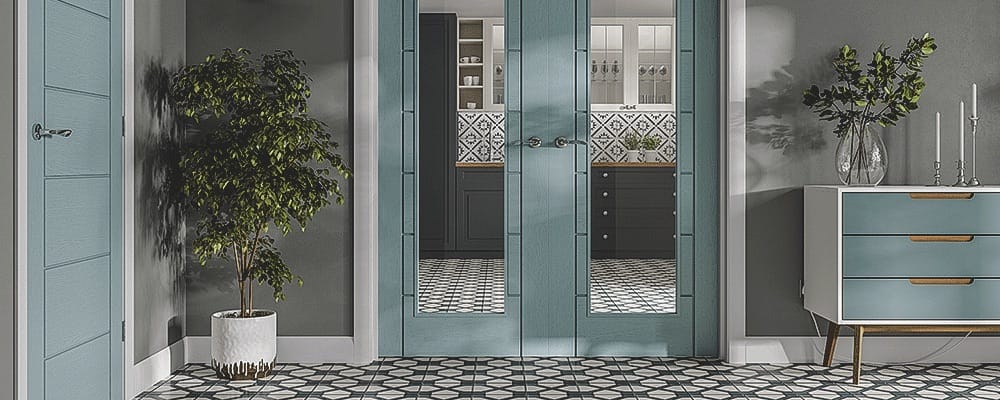
So, you’ve just received your brand-new internal door from Leader Doors. It’s an exciting moment, right? But before you start enjoying its sleek design and functionality, it’s important to think about how best to care for it. Even though these doors are crafted to withstand everyday wear and tear, regular maintenance ensures they stay in pristine condition for years to come. Think about those moments when someone slams a door shut in haste, or maybe your furry friend scratches at the wood trying to sneak into forbidden spaces. Without proper care, these little incidents can add up and leave noticeable marks over time. By taking the right steps early on, you can keep your door looking fresh and functional for longer.
To give your internal doors the best chance at longevity, it's recommended to apply a protective layer of oil or varnish before installation. This creates a shield against potential damage from moisture, dirt, and general wear. After initial application, you should plan to reapply the treatment every couple of years—this keeps the door resistant to scratches and stains. Don't worry if you're unsure where to begin; we've put together some practical advice below to help you get started!
What You'll Need:
- A Dust Sheet – Protect your floors and furniture from spills and drips while working.
- A Microfiber Cloth – Useful for wiping down surfaces and removing loose particles before painting.
- Protective Clothing – Keep yourself clean and comfortable during the project.
- A Wide Paintbrush – Ensures smooth, even coverage across the door surface.
- A Paint Tray – Holds the coating material conveniently within reach.
- Your Chosen Treatment (Oil or Varnish) – Depending on whether you prefer a matte or glossy finish.
- Masking Tape – Covers hinges, handles, and other non-painted areas to prevent accidental smudging.
- A Finishing Pad – Helps buff out minor imperfections between coats.
- Sandpaper – Removes rough patches or imperfections prior to application.
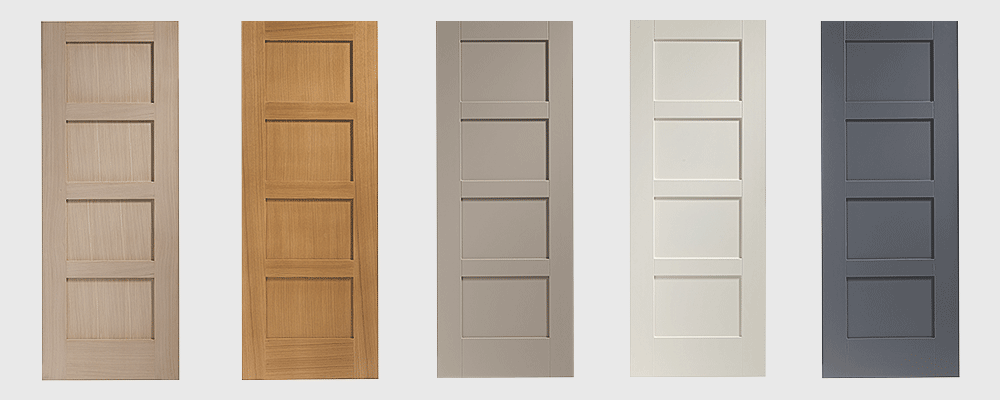
The exact method of treatment depends largely on the type of door you have. Here are some guidelines tailored to common internal door styles:
Instructions:
Step 1: Begin by preparing your workspace. Cover surrounding areas with dust sheets, dress appropriately in older attire, and secure door hardware or architectural details using masking tape. Ventilation is key here—open windows if feasible to allow fresh air circulation throughout the area.
Step 2: Position your door horizontally across two sturdy trestles. This prevents unwanted pooling of materials while drying. Thoroughly mix your chosen oil or varnish and pour a manageable amount into a paint tray for easy access.
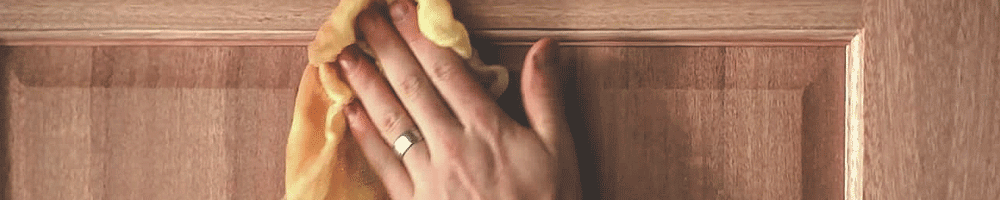
Step 3: Inspect the door for cleanliness and dryness. Gently wipe it down with a microfiber cloth to remove dust and debris. Then, dip your brush into the tray and apply a light layer following the grain direction. Excess oil-based treatments should be wiped off immediately with the same cloth.
Step 4: Allow sufficient time for the first coat to dry—usually around four hours depending on environmental conditions. Refer to the specific instructions provided by the manufacturer. Once dried, inspect the surface carefully for any bumps or inconsistencies. Use a finishing pad lightly pressed against the door to smooth out these spots.
Step 5: Apply a second coat repeating Step 3. Flip the door onto its opposite side and repeat the process for full coverage. Don’t forget to treat the top and side edges thoroughly for added durability.
Step 6: Maintaining your doors is straightforward. Periodically assess their condition every few years, focusing especially on any worn sections. Cleaning affected zones or lightly sanding them before recoating ensures renewed freshness without hassle.
If you also need guidance regarding external doors, fear not! Head over to our Help & Advice Centre for a detailed walkthrough on How To Treat External Wood Doors. Proper upkeep not only enhances aesthetics but extends the lifespan of your investments significantly. Happy renovating!
Inorganic Fabric Fire Shutter Door
Inorganic Fabric Fire Shutter Door,Inorganic Fabric Curtain Roller Up Shutter Door,Fireproof Rolling Shutter Door,Inorganic Fire Door
Dongguan HengTaichang Doors Co, Ltd. , https://www.dghtcdoor.com